Wavlink Extender Setup & Login
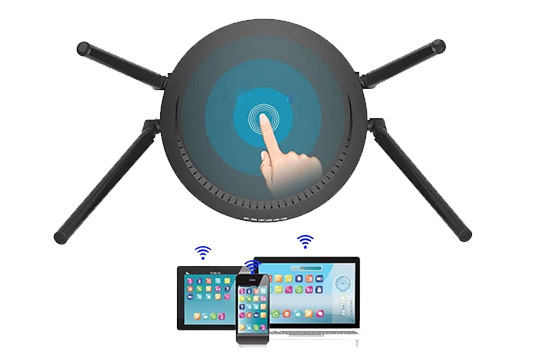
The Wavlink WiFi Extender is your most effective solution if you have issues with internet connectivity or a short WiFi range. With its wide area of coverage, this device is able to erase dead spots from your house. Using the Wavlink Extender login and then completing the AP.setup, you can extend your network for a more stable, more secure, more reliable, and faster internet with Wavlink Extender Setup. Regarding compatibility, Wavlink extenders are extremely effective since they work with all devices that are around. With Wavlink, it is easy to manage any kind of device, including smart TVs, smartphones, tablet computers, and even Roku devices. To step into the world of seamless wireless connectivity throughout your premises, follow the steps below for Wavlink Extender Login and Wavlink Extender setup steps.
WiFi Wavlink Extender Setup Methods
The process of WiFi Wavlink com setup is fairly easy. Primarily, there are three Wavlink Extender login and setup methods for Wavlink WiFi devices. You can pick any of those, depending on the compatibility of your host device, your convenience, and your preferences. The following are the methods:
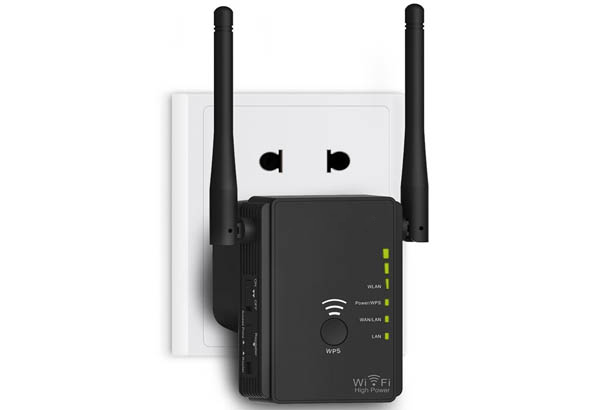
WPS (WiFi-Protected Setup)
A WiFi-Protected setup is a go-to Wavlink Extender Setup option for every user who doesn’t want to indulge in a complex and time-consuming process. It is a quicker and easier way to do the configuration of a Wavlink device in comparison to other setup methods. The most interesting thing about this setup method is that you only need to press a WPS button. Except for this, you will not require anything else to do.
Using a Web Portal
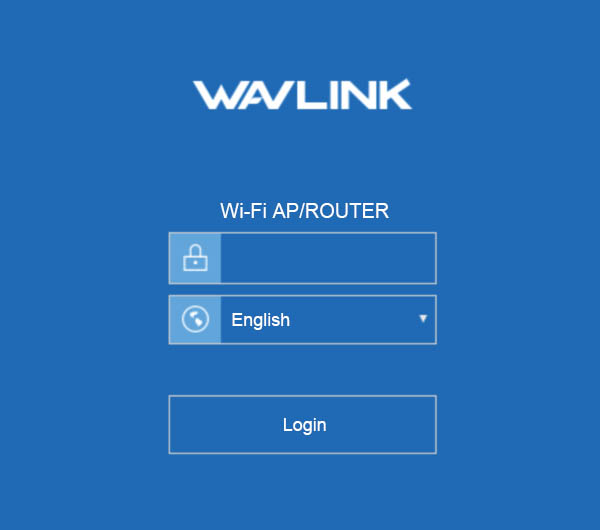
Wavlink has a dedicated web portal for controlling and managing its devices. It is basically created for users only. You can access this portal using the Wavlink official login web address or 198.162.10.1. By using this dedicated online portal, you can perform the Wavlink extender login and setup process of any Wavlink WiFi device readily. But, it may take a longer time to do that as compared to the WPS Wavlink Extender Setup method.
Using a Wavlink Mobile App
Wavlink also has a dedicated mobile app along with a web portal for the management of Wavlink WiFi networks. Users can easily access this app on the Google Play Store or the App Store. They can perform some actions using this app. Whether you want to do the Wavlink wifi range extender Login, set up, or optimize the WiFi settings, this app enables you to perform all these functions with ease. The process will not be much different compared to the steps you will be following while using the web portal.
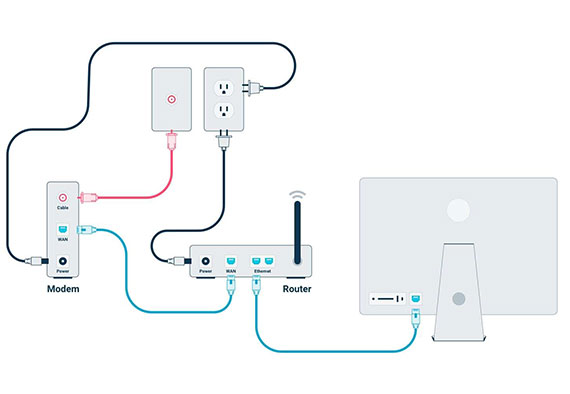
Wavlink Extender Installation & Login
Installation and Wavlink Extender Login are two mandatory procedures. You can set up your Wavlink device or use it without completing these processes. If you don’t know or are unsure about these procedures, you can refer to the Wavlink extender manual. Generally, the manual comprises all the crucial information, from the product overview and LED specifications to the Wavlink Extender setup and firmware updates. But you may not be able to understand the wording used in the manual. This is because the manual usually incorporates so many technical terms and complex words. That’s where the following easy-to-understand and step-by-step installation and Wavlink wifi range extender login process will prove useful. Take a look below:
Wavlink Extender Installation Steps
Wavlink Wifi Range Extender Login Steps
Wavlink WiFi Extender Setup Without WPS
A Wavlink wifi range extender Login and setup are necessary before you can start using it. The extenders basically work by increasing the signal strength from your router to the extenders. Consequently, as part of the Wavlink Extender Setup, you will need to configure your extender to work with your router.
This is a rundown of the necessary steps that you will have to follow to do the Wavlink wifi extender setup. Ensure that you follow the steps in the following order, without omitting any of the steps, to ensure that the entire process runs smoothly:
Following all the steps will ensure that you have successfully set up your Wavlink extender and will be able to enjoy seamless internet access in every corner of your office or home.
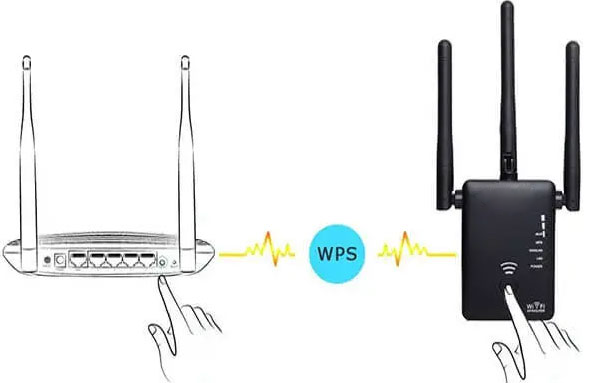
Steps to Wavlink Extender Setup via WPS
Let’s take a closer look at another way of configuring or installing your Wavlink extender, which is the wireless-protected setup, or the WPS setup. The WPS setup will help you with the configuration within 2-3 minutes, so configuring your extender won’t take much time at all.
Note: This process requires no mention of a username, password, or SSID, as they are not necessary. Basically, all you will need to do is press a small button.
You can easily complete Wavlink Extender Setup using WPS by following these steps:
Configuring Wavlink WiFi Extender in an AP Mode
Not all, but you can configure most of the Wavlink WiFi extenders or routers in an AP (access point) mode. This means you can make your Wavlink WiFi extender function like an Access Point. With this mode, you can create a centralized network and broadcast the network range to a larger area. Moreover, there will be the liberty to allow a higher number of client devices or users to connect to your Wavlink extender network.
To perform Wavlink Extender Setup in an Access Point mode, you will not need to perform a different setup process. With the standard setup process that we already explained above, you can configure your Wavlink WiFi extender into an AP mode. The only thing you need to take care of is the placement of the extender and the selection of the “AP mode” during the setup process. The placement should be done as instructed for the Access Point in the Wavlink Extender manual. You will need a long Ethernet wire for this that will extend from the Access point to the host router.
During the Wavlink extender setup process, you will be prompted to select the setup mode. Here, you will need to click on the “AP Mode” button. This will assist you in completing the Wavlink wifi range extender login and AP configuration successfully.
Having Trouble Accessing http://Ap.Setup during Wavlink Extender Setup?
The following troubleshooting steps can help you reach http://ap.setup and complete the Wavlink setup process. If you follow the above steps, you will be able to access this website. We advise you to contact our team of experts for help if you are still unable to access the Wavlink outdoor wifi range extender setup portal.
Wavlink WiFi Extender Setup Issues – Advanced Troubleshooting
WiFi Wavlink Extender Setup – Unable to Perform Wavlink Extender Login
There are a few different things that could be causing this issue.
Note: If these Wavlink Extender login and setup steps don’t work, please contact our technical support team.
Set up a Wavlink Device On Your Home Network
Setting up a Wavlink device in your home network is quick and easy, but you’ll need to make sure you have the right equipment before getting started. First, you’ll want to make sure that your router can handle the extra load of running a new device. If it can’t, it’s time to upgrade.
You also need to make sure that all of your devices are on the same network—you don’t want one of them slowing down the whole process by being on a separate network.
Once you’ve made sure your router can handle the new device and that all of your devices are on one network, it’s time to get started with setting up your Wavlink device.
Here’s what you need to do:
Common Wavlink Extender Setups
Some Issues You Might Face
If you are facing any issues, please contact us, and we will be happy to help you.
Wavlink WiFi Extender Setup FAQS
1. Can I set up a Wavlink device on my network using the app?
Wavlink devices can be set up in a home network by connecting them to the home network via ethernet cable or by using a Wifi connection. Once connected, open the Wavlink app and follow the instructions on the screen to complete the setup.
The app can also be used to manage devices and perform tasks like turning them on and off, adding new devices, or creating rules. Additionally, setup can be performed using the web interface at https://wlvnk-r1 (default password is 0000).
2. Can I change the wireless password of my Wavlink router?
Router Wifi passwords are different from router login passwords. Using the Wifi password on your WiFi router will allow you to access the router’s networks, but using the login password on your WiFi router will allow you to control your Wavlink account.
There is no way for anyone to access the router’s network’s WiFi connection without a Wifi password. Most of the time, the wifi password for a Wavlink is configured during the Wavlink Extender Setup process.
Wavlink router WiFi password changing steps:
3. How do you update the firmware on a Wavlink router?
A new firmware update is necessary for the correct functioning of a Wavlink router since it improves security and functionality. Visit the Wavlink Download Center to download the available firmware before you can interact with the web interface of the Wavlink router.
Ensure you take note of the correct model number and the name of the Wavlink router on the packaging box. Note: If you are downloading new firmware, make sure you read the release notes, which are downloaded along with it.
4. Does the WiFi extender need WPS?
WiFi extenders do not need the WPS Wavlink Extender Setup option, but they can use it. WPS stands for WiFi Protected Setup, and it’s a protocol that allows you to connect devices to your network wirelessly. A lot of people confuse WPS with WiFi, which is incorrect. They’re two different things, but they work together.
To use WPS on your WiFi extender, you’ll need to press the button on your router that’s labeled “WPS” or “Push Button Configuration.” After that, you’ll see a series of six blinking lights on the front of your device. You’ll then need to press the corresponding number on your extender within two minutes (or else you’ll have to start over).
5. What is the process for connecting WPS to Wavlink?
Wavlink’s default setting is to disable WPS, but you can enable it in your router settings if you wish to use it.
To connect your Wavlink device with your router using WPS, follow these steps:
