
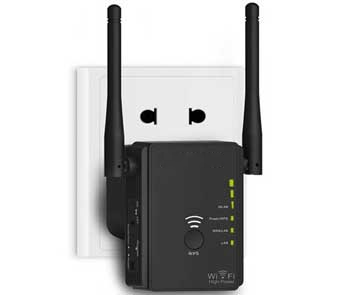
New Wavlink Extender Setup
Fortunately, the configuration process of the new wavlink extender setup is as simple as that. You will be able to do it independently if you get a thorough overview of your product. And it might be necessary for you to understand the process if you are doing it for the first time. So, get further information here regarding every step of the process.
Working Process Of The Extender Setup
Basically, the new wavlink extender setup works as a booster that attaches to the existing router to extend its signals. Mainly, all extenders are compatible with every other brand of router. From providing strong internet signals to allowing the devices to remain connected, extenders work for all.
With the help of dual frequency bands, this device is able to offer the maximum speed of the internet. More than that, the MU-MIMO technology allows users to connect a range of devices to the network. Whether you install this device at your home or office, it will work in the same way for both. Now, let’s move to the further processes.
Login To The New Wavlink Extender Setup
To execute the extender configuration process, do the login first. Use your device and visit the extender’s web-based setup portal.
Wavlink Extender Setup On Web
After the login process, the next step here is to do the setup of the extender. As you click the Sign-In option, the setup page will appear on that device’s screen. Select the network from there and fill in the password, or you can create a new one. Also, apply the directions that the device will show you to complete the process. Last but not least, set a strong password for the extender network to avoid hackers.
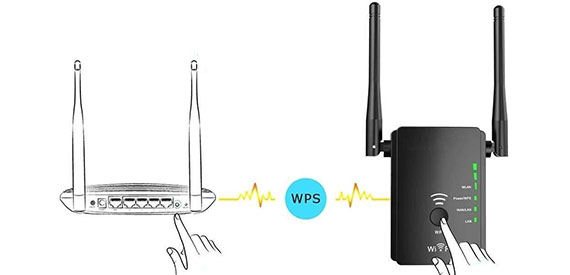
WPS Method For New Wavlink Extender Setup
To configure your extender quickly with fewer efforts, choose the WPS process instead of the web-based setup method.
Update Extender’s Firmware Version
In order to get stable internet signals constantly, keeping the extender’s firmware version up to date is a considerable point. For this purpose, check the updates for the extender’s software on the web-based setup page. Download and save the file accordingly on your PC if there is any available. Thereafter, upload that file to the page and do the firmware update. Ultimately, the extender will start working effectively, and this process can be a troubleshooting method for the device.
After configuring the extender in these ways, if there is any glitch in its performance, then take solutions from us. Call us right away at 716-992-6371 or email us at [email protected].
Common Wavlink Extender Setups
Some Issues You Might Face
If you are facing any issues, please contact us, and we will be happy to help you.