

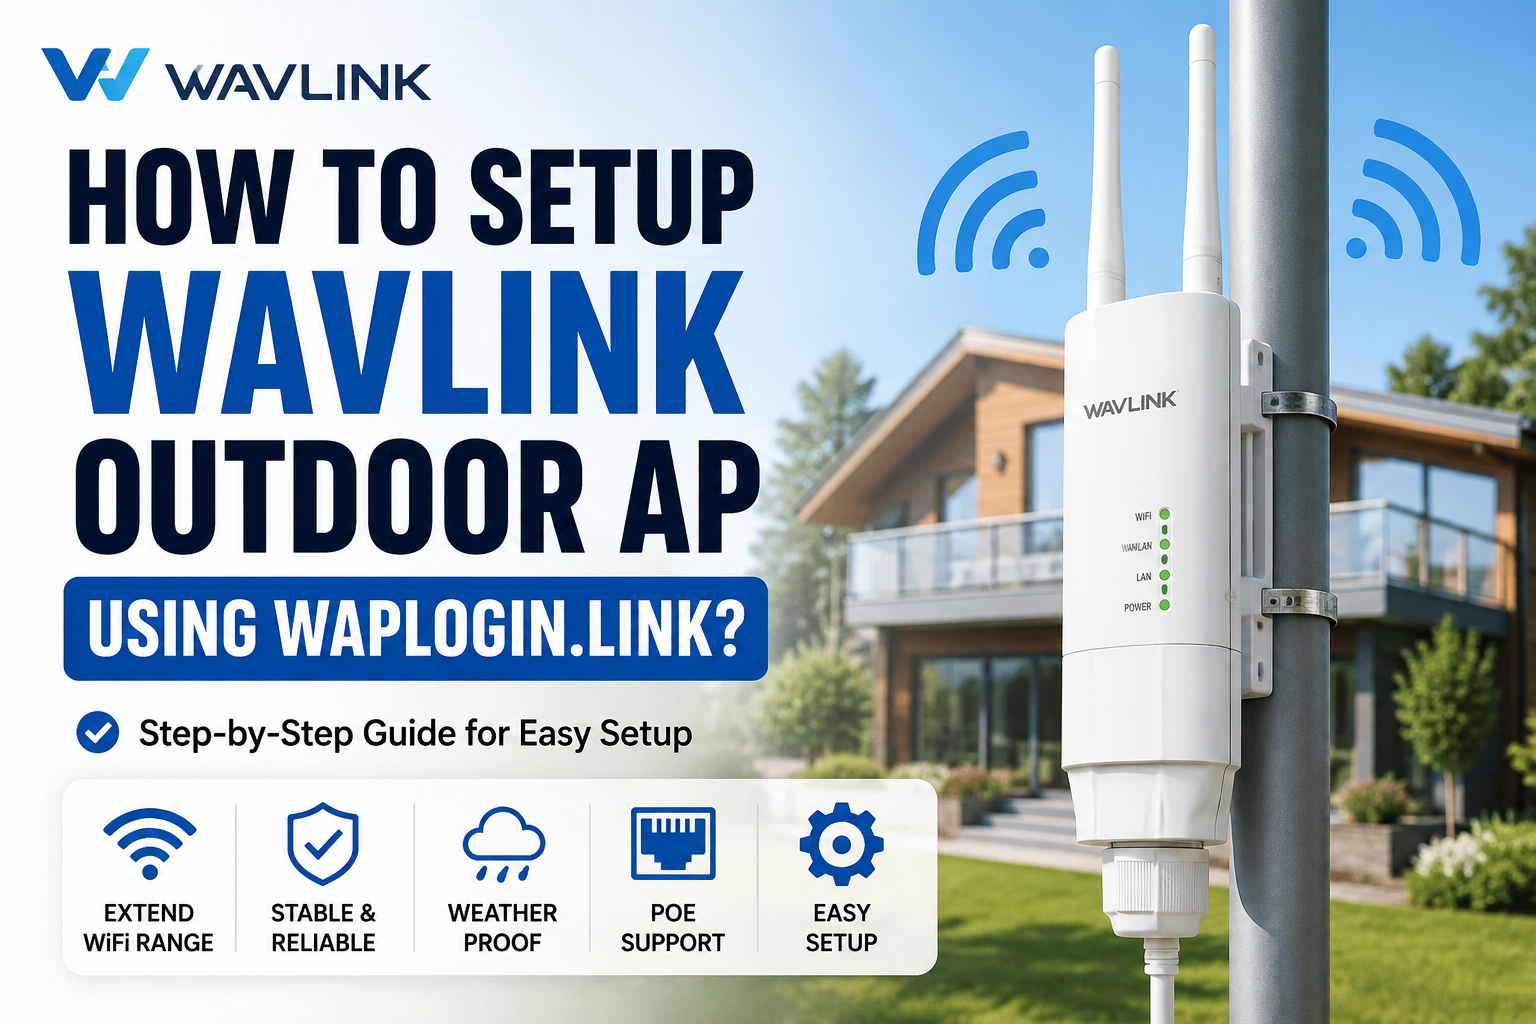
How To Setup Wavlink Outdoor AP Using waplogin.link?
Wavlink outdoor AP setup can help extend your wireless network coverage to outdoor areas around your home or property. A Wavlink outdoor access point can provide a more reliable connection where your indoor router’s WiFi signal may be weak. This guide explains how to set up your Wavlink outdoor AP, access the configuration page, connect it to your network, and troubleshoot common setup problems.
For model-specific instructions, see our Wavlink AC1200 outdoor setup guide.
Wavlink Outdoor AP Setup Steps
Before starting the Wavlink outdoor AP setup, make sure you have the required equipment and a working internet connection. Having these items ready will make the configuration process easier.
Once you have everything ready, follow the steps below to configure your Wavlink outdoor AP.
Choose the Right Location for Your Wavlink Outdoor AP
First, choose a suitable location for your Wavlink outdoor AP. Place the device where it can provide coverage to the area where you need an extended wireless connection. Also, keep the following points in mind:
Connect the Router or Modem to the Wavlink Outdoor AP
Next, use an Ethernet cable to connect the outdoor AP to your existing network. Connect one end of the cable to the LAN/Data In port on the Wavlink outdoor AP and the other end to an available LAN port on your router or modem.
Connect the Wavlink Outdoor AP to Power
After that, connect the supplied power adapter to the power port on the Wavlink outdoor AP. Plug the adapter into a nearby power outlet and turn on the device if required. Then, check the status LEDs to confirm that the AP has powered on successfully.
Access waplogin.link
Once the AP has powered on, connect your computer or laptop to the device and open a web browser. Next, enter waplogin.link in the address bar and press Enter.
For additional model-specific instructions, you can also refer to Wavlink’s official outdoor AP login guide.
Configure the Wavlink Outdoor AP
After logging in, open the AP or corresponding wireless configuration section. Then, follow the on-screen instructions to configure the outdoor AP.
After logging in to the administration interface, open the AP or corresponding wireless configuration section. For general instructions, see our Wavlink AP setup guide before continuing with the configuration.
Test the New Wi-Fi Network
Finally, connect a Wi-Fi-enabled device to the new wireless network. Browse the internet and check the connection in different areas. If necessary, relocate the outdoor AP to improve coverage.
If you are using an AC600 model, see our Wavlink AC600 setup guide for model-specific instructions.
Conclusion
Setting up a Wavlink outdoor access point is straightforward when you follow the correct installation and configuration steps. Connect the AP to your router or modem, access the setup interface through waplogin.link, configure your wireless network, and test the connection after setup. If you experience connection or login problems, check the device connections and management address before repeating the setup process.