
WL WN592AX6 AX6000 Router Setup
Did you get your hands on the Wavlink’s MIGHTY 6 6000 router? If yes, then first you made a great choice. It is not a regular router but comes loaded with vast features. Firstly the router operates on mesh technology. So you won’t face issues like sudden connection drop, slow speeds or intermittent connectivity. But to use all its features you need to learn about the accurate WL WN592AX6 AX6000 router setup process. So in this guide you’ll be able to fetch this particular information. We’ll share complete product features, setup requirements to installation steps.
Key Characteristics
The MIGHTY 6 6000 router operates on dual frequency bands. The 2.4Ghz band emits speeds of 1147 Mbps. On the other hand the 5.8 Ghz band emits lightning fast 4803 Mbps wifi speeds. This particular WL WN592AX6 AX6000 router setup supports wifi 6 technology.
Further the presence of OFDMA as well as MU-MIMO technology enhances your networking experience to the next level. Thereafter, it features a total of 4 Ethernet LAN ports. So for times when you need direct connectivity and stability for your smart device, you can make use of these ports.
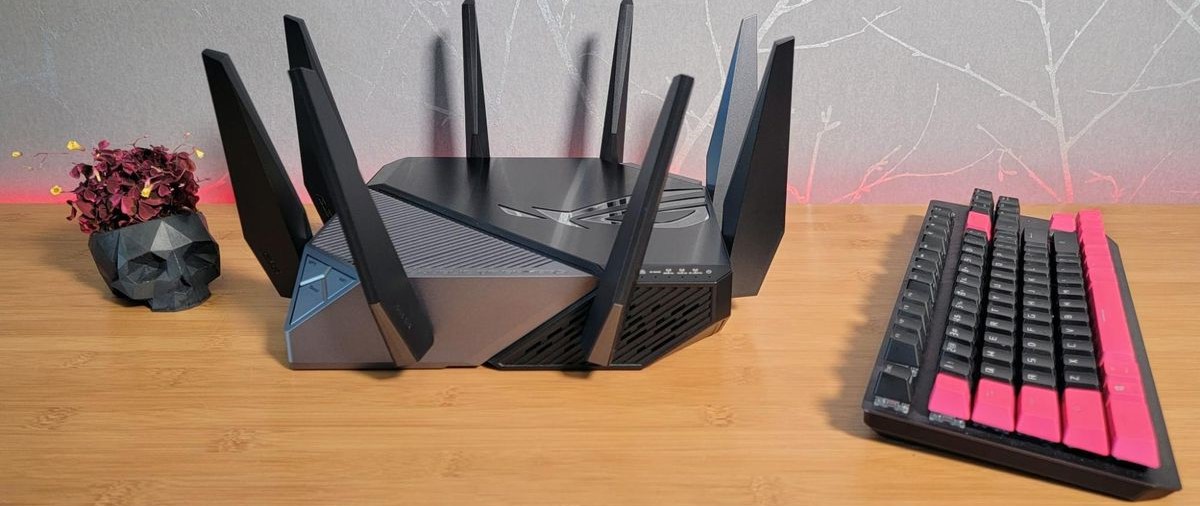
Next up, the router supports multiple VPNs. So you need not panic about the data being stolen or any third party tracking your activities. Moreover the router supports intelligent QoE to your advantage. This reduces latency and automatically prioritizes traffic. The presence of so many external antennas, offers reliable and wider coverage.
What All You Require For The Setup?
For effortlessly conducting the setup you need all these components in hand:
Start With Finding The Accurate Placement Spot
Start the WL WN592AX6 AX6000 router setup process by first hunting out the perfect spot for its placement. Choose the center of your abode or the place where you use most of your smart gadgets. Next up, the chosen spot must not be congested, rather open and well-ventilated. Do not make a blunder of plotting the MIGHTY 6 6000 in close proximity to the electrical and metal items. Also do not place it behind any curtain or in any box. Additionally, for better networking experience try choosing a spot that is highly elevated like a table top or shelf.
Start Installation
As you finalize the placement spot for the router, you are all set for the remaining WL WN592AX6 AX6000 router setup steps. So here we list them for you one by one:
If you have a query, or need any other assistance, call our experts.