logo
Wavlink WiFi Range Extender Setup | WPS & Web-Based Guide

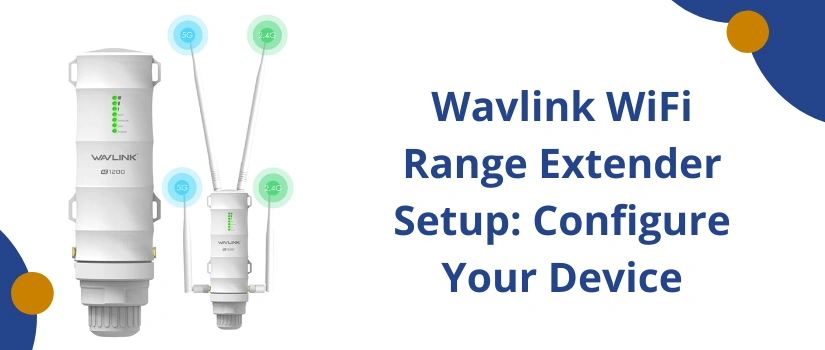
Wavlink WiFi Range Extender Setup: Configure Your Device

Wavlink WiFi Range Extender devices are widely used by the people to boost their home network or office network. With the use of a range extender device you will no longer face difficulty in the network like wifi dead zone, weak signal etc. You will get a more steady network once your range extender gets configured with your router device. Confused how Wavlink WiFi Range Extender devices can be added to your current network? The process is super easy, anyone can follow it to complete the configuration. Further you will find the detailed procedure of Wavlink WiFi Range Extender setup. 

Wavlink WiFi Extender Setup Process

Wavlink wifi range extender setup can be done in two ways. The first and most simple method is the WPS push button method. For this configuration method your range extender should support WPS connection. In case your router restricts the connection then you have to opt for another method which is a web based method. Check out the procedure involved in both ways. 

WPS based Wavlink extender setup

WPS push button method has following easy steps:

  • Begin the process with the placement. Choose a location that is in the middle. 
  • Secondly, connect the extender with power. An adapter and a stable power source are required to supply electricity for operation. 
  • Thirdly, wait for the bootup to complete and then push the WPS button. 
  • Fourth step is pushing the WPS of the router as the extender LED starts blinking faster without wasting a minute. 
  • Now just monitor your extender device and wait for the connection to be done. 
  • Once the Wavlink wifi range extender setup completes, perform a speed test to verify the network.

Web Based Wavlink Extender Setup

Web Based Wavlink extender setup can easily be done by following the given steps here. This setup method allows users to configure the extender and customize several settings as per their need. 

  • Begin the process with the placement. Choose a location that is in the middle. 
  • Secondly, connect the extender with power. An adapter and a stable power source are required to supply electricity for operation. 
  • Thirdly, wait for the bootup to complete and then choose a client device. 
  • Fourth step, link the client device with the extender device. 
  • Thereafter, open chrome to reach the setup wizard using the default IP. 
  • After this you need to follow the instructions as the setup wizard guides you. 
  • Make changes in the default security details of the admin panel. 
  • Proceed by connecting the extender to the router’s Wi-Fi network using the router’s login credentials. 
  • Further you should change the default security details of the wireless network of the extender, update firmware and make other important changes. 
  • Finalize the setup and test the network, if needed relocate it.

Conclusion

Wavlink wifi range extender setup process specified on this page includes two ways of configuration. Using any preferred method you can set up the extender. If assistance is required, our support team is here to provide guidance. Just make a call! 

Disclaimer:- wifiwavlink.net website is for customers who are seeking technical help and technological assistance/support service for WiFi extenders, routers, and WiFi networks. However, we do not have any endorsement, alliance, or affiliation with any brands neither direct nor indirect. All the images, brand names, product models, and logos are only for illustrative purposes. Guidelines provided on the website are solely for informational purposes. Neither a guarantee nor an implied warranty is provided regarding the content available on the website.