
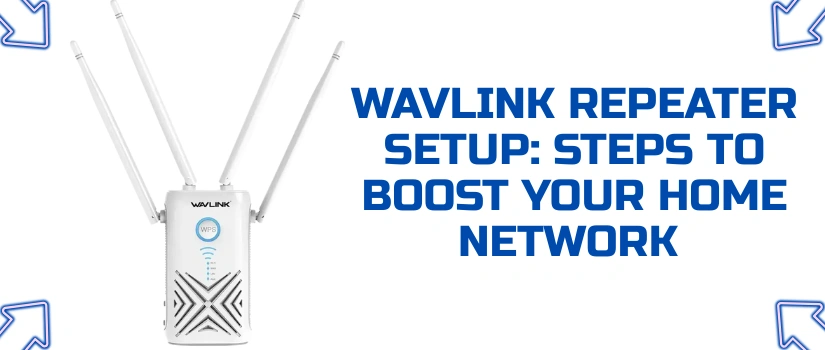
Wavlink Repeater Setup: Steps To Boost Your Home Network
People often use a single device to get a reliable network. But if you are living in a multi storey home then a single device is not appropriate to offer a reliable network. Along with the router device you should use a repeater device to extend the signal coverage. Wavlink repeaters are very famous devices to offer high speed internet and better coverage. By adding a Wavlink repeater to your existing network you can easily enhance your network coverage. Wavlink repeater setup is not a hard task. You can do it very easily by following simple steps specified underneath. This step by step guide will help you complete the configuration of the repeater device and get a reliable network.
Place The Repeater Device
You can begin the Wavlink repeater setup process by finding a location to put the device. During the initial setup stage you need to put the device next to the router device. Proximity is needed to initiate the setup without any difficulty.
Power Up & Connect Repeater Device
Power of the device using the power cable. Once the device is turned on you need to connect it with a client device. For the client device connection there are two methods. The first and most reliable method is the wire base method in which you need to use ethernet cable for connection. The second method of connection is the wireless method in which you need to use the wireless details specified on the device label.
Access Setup Page
After the connection is done you need to proceed to get access to the Wavlink repeater setup page. For this access you need to launch the Google Chrome or any other similar browser. Specify the default IP or web address in the URL bar of the browser to open the setup page. Next you need to get access to the setup page using the standard login credentials.
Configure Setting
As you get the access to the Wavlink repeater setup page, you need to start configuring the settings. Begin the configuration by choosing the language and then changing the standard admin details. After securing your admin account connect the repeater with the router device using the wireless network details of the router. Also create a separate network name and password for your repeaters network.
Submit Changes
Once you have made all the changes to the network you have to submit the changes. Press the submit button and let the device apply changes. Meanwhile the device might reboot itself.
Relocate The Device
As the Wavlink repeater setup is done you need to relocate the Wavlink repeated device. Relocating makes sure the device is within the range of your router.
Test The Network
You need to test the network after the relocation is done. If you find any difficulty in accessing the network then you need to relocate the repeater device closer to the router. Strategic placement is needed to get the best out of your device.
Connect Us
Last but not the least if you face any difficulty in setting up the device even after following the above specified steps then don’t worry our team is here to help. You can connect our technical experts on the below available number.
