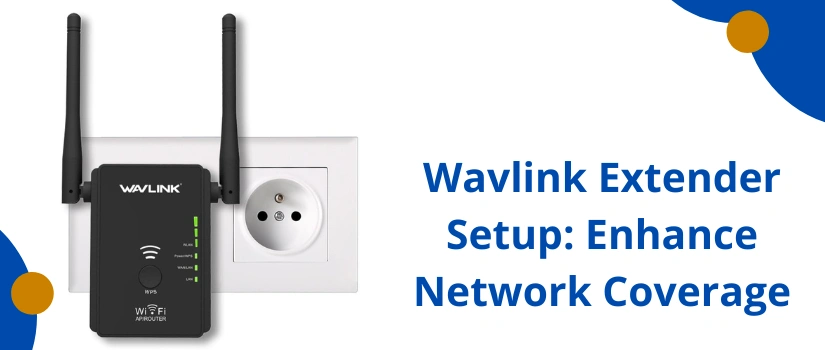
Wavlink Extender Setup is essential if you want to extend your WiFi signals into areas where the router can not reach. An extender device works as a bridge that takes signals from the router and broadcasts them to areas where the router is not able to cover. The device is easy to configure, and you can complete the process using either the Web- based system or the WPS button system. Below are the detailed ways for both setup options.
Wavlink Extender Setup via Web Cybersurfer
- Plug the Wavlink extender into a power outlet and ensure the power LED is stable.
- Place the extender close to your router for the original configuration process.
- On your computer or smartphone, go to WiFi settings and connect to the extender’s network name (SSID). This is generally displayed on the device marker.
- Once connected, open any web browser similar to Chrome, Edge, or Safari.
- In the address bar, type wifi.wavlink.com or the IP address 192.168.10.1 and press Enter.
- You’ll be diverted to the Wavlink setup runner. Enter the dereliction login credentials. In most cases, the username and password are both set to admin.
- After logging in, you’ll see the setup wizard. Choose the Repeater Mode option.
- The extender will overlook available WiFi networks. Select your home WiFi SSID from the list.
- Enter your WiFi network word precisely to ensure a successful connection.
- Confirm the settings and save them. The extender will renew automatically.
- After reboot, reconnect your device to the recently extended WiFi network. The extended SSID might appear with a suffix like “, EXT.”
- Once connected, you can place the extender between your router and the area where you want stronger content.
Wavlink Extender Setup via WPS Button
- Plug in the Wavlink extender to a wall socket near your main router.
- Stay for the power LED light on the extender to stabilize.
- Detect the WPS button on your main WiFi router. Press and hold it for about 2 to 3 seconds.
- Within 2 minutes, press the WPS button on your Wavlink extender.
- The WPS LED index will begin to flash, showing that the device is trying to connect.
- Once the connection is successful, the LED light on the extender will turn solid.
- Now open the extender and move it to the position where you need better WiFi coverage. Ensure it’s still within range of your router’s signal for the stylish performance.
- Connect your device, similar to laptops, smartphones, or smart TVs, to the extended WiFi network. The SSID may either remain the same as your router or appear with a suffix depending on your router’s configuration.
Conclusion
Both the web- based setup and the WPS system are simple ways to configure your Wavlink extender. The web system gives you further control over settings, while the WPS system allows a rapid connection with just the press of a button. Once the setup is complete, you can enjoy extended WiFi content across your home or office without interruptions. You can take the help of our technical team in case you need to complete the Wavlink extender setup.