
Wavlink Extender Not Connecting to Router? Try These Proven Fixes
Is your wavlink extender not connecting to the router? Don’t know how to fix the issue? Searching for proven fixes to get rid of the issue. If yes then you reach the right page where you will get detailed information. Sometimes It can be frustrating when you’ve done everything by the book, and yet the wavlink extender refuses to cooperate. Here you’ll get guidance with proven solutions that can get your Wavlink extender connected in no time. Read out the fixes and follow them up as mentioned to get your wavlink’s network back on track.
Double Check The Placement
Initiate the troubleshooting with the placement verification of the extender device. Physical placement of extenders is a very crucial factor that is overlooked by many of the users. Optimal placement of the extender means better connectivity. You have to keep the extender in the midway so that it easily receives signals from the router. Also do not put the device proxy to the router. Furthermore while placing the wavlink extender you have to avoid keeping it close to microwaves, cordless phones, or Bluetooth devices as these devices interrupt the network. In addition to this you have to be sure that there are minimal walls or large obstacles between the extender and outer device. Sometimes, just moving the extender to a different outlet can make all the difference. Move it a bit closer to the router for better signals.
Reboot The Wavlink Extender
Reboot the wavlink extender to fix the bugs and temporary issues in the device network. Rebooting the device is a very simple way to resolve the connectivity issue. If your extender is not connecting to the router then you can try rebooting and then connecting the device again. Check the steps to follow:
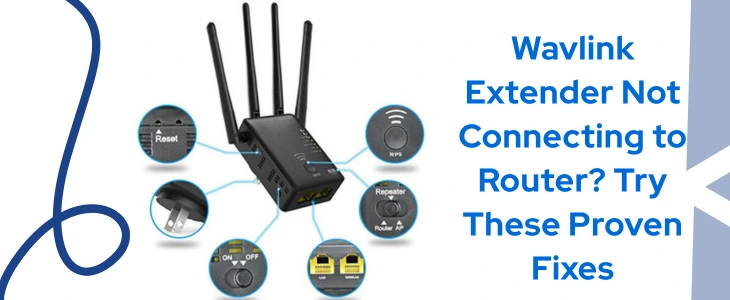
WPS Connection
You can establish connection between the extender and router device using the WPS button. For the connection you have to proceed with certain instructions as mentioned:
Connect the device using the WPS method very conveniently using the mentioned guide. In case you encounter any trouble then you can also opt for web based setup.
Firmware Update Of Extender
Old firmware of the extender device creates issues. Install the latest version of the firmware for smooth running. Using the web interface one can update the firmware very conveniently. View the specific instructions you have to proceed with for firmware update:
As the update is done, check if the issue still persists or gets resolved.
Reset The Wavlink Extender
Resetting the wavlink extender device back to factory settings can significantly resolve many errors including connectivity error, wrong configuration, slow internet speed and much more. In case you follow all the troubleshootings to resolve the issue but yet the problem persists then you can opt for the reset option. This is the last option to perform as this will delete each and every change you made to your device. Walk through the reset guide of the wavlink extender back to factory default:
Conclusion
Wavlink Extender Not Connecting to Router is a very common trouble that is often faced by the people who are using the extender device. In case you also encounter the issue, don’t panic, just simply follow the troubleshootings and get your network back as it was. Troubleshooting the issue is very simple if you know the reason for the problem. Your wavlink extender might not connect because of too far placement, wrong details, bugs, outdated firmware or more.
Resolving all such issues is very simple, you just have to follow the above stated troubleshootings. With the adequate placement, rebooting, updating firmware, using accurate details etc; you can easily retrieve your extender’s network. Still in case you are not able to get rid of issues or encounter problems in applying troubleshooting then we are here for you. Our technical team will guide you with the troubleshooting tips after analysing the issue. To get support from technical experts you simply need to call us. Contact number is mentioned below, don’t think too much, call now!
