
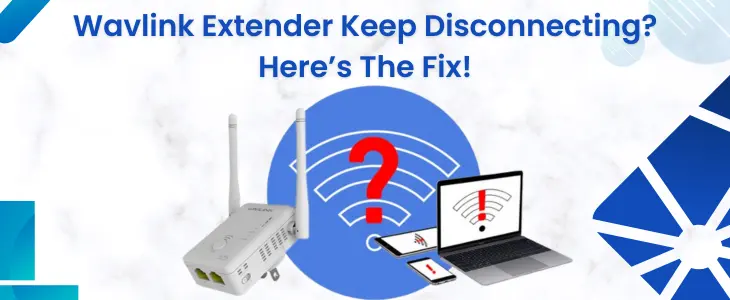
Wavlink Extender Keep Disconnecting? Here’s The Fix!
Wavlink WiFi range extender device is designed to extend network coverage and improve internet connectivity. However, if your Wavlink WiFi range extender keeps disconnecting, it can be frustrating. There are several factors which can contribute to this issue such as network interference, outdated software, wrong placement, etc. In this article we provide you a step by step guide to troubleshoot and resolve the issue
Reasons Why Issue Happened During Setup
Before moving to fix the extender issue, first know why the issue happened during setup.
Verify Power Connection
Verify that Wavlink WiFi range extender is perfectly plugged into the power socket. The loose and faulty power connection can cause frequent disconnection. If necessary then try to plug in Wavlink WiFi range extender in a different power socket.
Place Extender At Perfect Location
The location of the Wavlink extender impacts on its performance. To ensure a stable connection consider below steps,
Update Wavlink Extender Firmware
Consider lower steps, to upgrade the Wavlink extender software.
Check Up Extender And Router Connectivity
Make sure that Wavlink extender must maintain a strong WiFi connection from the router. To check connection between extender & router, follow lower prompts.
Reduce Number Of Connected Device
Too many WiFi devices connected with the Wavlink WiFi range extender can overload it and cause frequent disconnections. We recommend you try to disconnect some WiFi devices which connect with Wavlink extenders and see if the stability improves or not.
Discard Power Saving Mode
Several Wavlink extenders support power saving features that may cause intermittent disconnection. Verify the settings from Wavlink extender web interface and disable power saving mode.
Reset All Factory Default Settings
Look for the reset button on your Wavlink WiFi range extender device. Now, take a paper pin and press the extender reset button for 10 seconds or until all LEDs completely get turned off.
After reset Wavlink WiFi range extender you will require to configure your Wavlink extender with the router.
Access Wavlink Extender Login Page
To access the Wavlink login page, after resetting it all default settings. Consider lower directions,
Hence, by following the apart directions you can easily access Wavlink WiFi range extender login page.
Setup Extender With Router Via WPS
To set up the Wavlink WiFi range extender with the host router by WPS method, try below steps.
Hence, your Wavlink WiFi range extender connects with the host router or WiFi by pushing the WPS button.
Setup Wavlink Extender By Web UI
By trying all the above troubleshooting directions, we hope now you enjoy fast and reliable internet speed from an extender at your home or office. But in case you are still facing problems then try to contact the Wavlink customer support team. In this kind of case, there is only one who can help you.

