
Wavlink Docking Station Clone Instructions: Step By Step
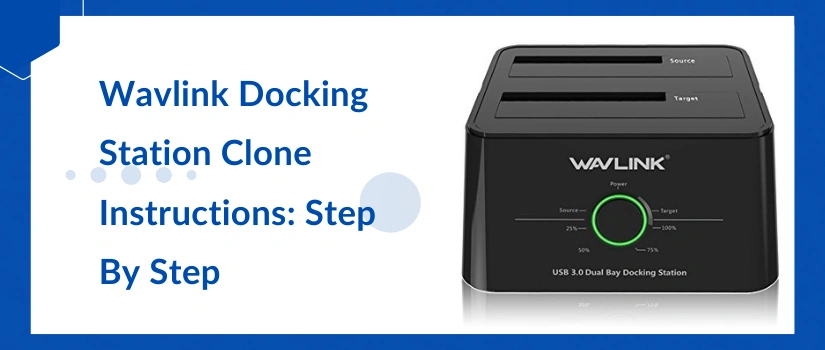
Using the wavelength docking station is very simple. If you are aware of the steps you have to follow to clone the data from one disk to the other then you can do it without any problem. Confused, don’t know how to proceed? New to using the docking station? No worries this guide is specifically designed to make you aware about the wavelength docking station clone instructions which you have to follow to copy the data from one disk to the other. Using the docking station you can copy the data from a HDD to SDD, from HDD to HDD or from SDD to HDD and also SDD to SDD.
Step By Step Instruction: Without Computer
You can follow these instructions to clone the data from a hard disk drive (HDD) or SDD to the other hard disk drive or SDD. The cloning process is very simple. It begins with the installation of the drive into the dictation and ends with the unplugging of the disks. Check out the guide here:
Install the HDD/ SDD
Connect the DC Adaptor
Start Clone
Clone Complete
Unplugging the disk
Step By Step Instruction: With Computer
You can follow these instructions to clone the data from a hard disk drive (HDD) or SDD to the other hard disk drive or SDD. The cloning process is very simple. It begins with the installation of the drive into the dictation and ends with the unplugging of the disks. If you desire to connect your computer with the docking station then you have to use a USB connector to connect the documentation with the computer. Once the connection is done you can proceed with the cloning by pressing the clone button. Also before unplugging the hard disk from the docking station you have to follow these simple steps:
This is how wavelength docking station clone instructions end when you are using the computer.
