
Wavlink AX1800 Setup: Configure Your Device
Desire to install a wavlink AX1800 device to your home or office? Don’t know what to do and how? Looking for depth information on Wavlink AX1800 Setup? Check out this guide very carefully to gather step by step information on configuration of the network. With the details specified below you can do the configuration and enjoy high speed internet across your home or office. Get better network coverage and get the best out of your wavlink AX1800 system.
Wavlink Setup Procedure
To begin the Wavlink AX1800 setup process you need to choose a client device like computer, smartphone or laptop. Make sure your device has an updated version of the web browser. In addition to this check your browser’s cache and cookies to clear them so that you can access the web interface easily. Prior to step forward towards the configuration you need to install the device hardware. Installation steps are also specified underneath along with the configuration steps.
Installation
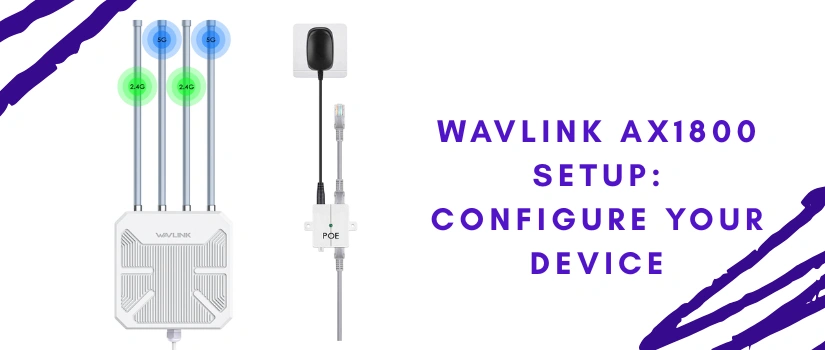
Unbox your device first and check that the box contains ethernet cable, power cable and user manual along with the AX1800 device. Initiate the process ahead by looking for a placement to put the device. Make sure the placement of the device is near your host networking device. Keep the device away from heavy metal objects, electronic devices or radio frequency devices. Avoid placement and corners or next to thick walls. Once placement is decided you need to power up the device by connecting the power cable to the device. Connect the power cable to the power source as well to turn on the power. Wait for the led to get stable and then step forward towards the configuration steps.
Configation
After installation of the device you can initiate Wavlink AX1800 setup process further by follow the given instructions:
Connect Us
Yet not able to complete the wavlink AX1800 setup by your own? No worries our expert team is here to guide you. You can connect our support team anytime to get assistance. In addition to setup you can also connect us for help to troubleshoot common issues you encounter and boost network performance.
