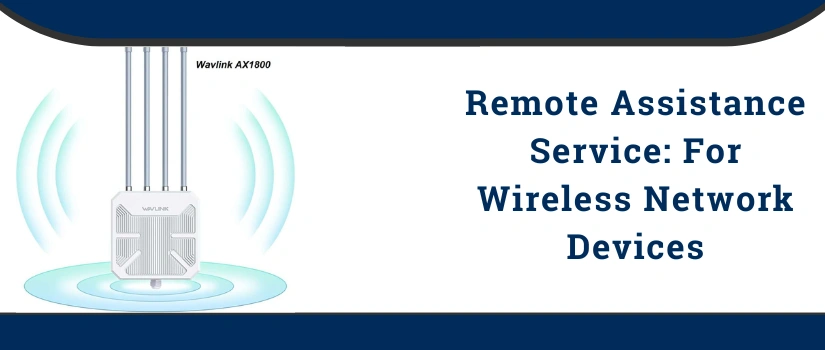
Desire to configure the Wavlink AX1800 device you just brought? Don’t know how to proceed with the Wavlink AX1800 setup? If the answer to these questions is yes then you must read the further section of this article. On the next segment of this page you will find step by step instructions to complete the setup. Now you will get a reliable network with better coverage and strong signals across your home. Scroll the page and gather the significant information. In addition to the setup process you will also learn what you need before starting the process.
Requirements of Wavlink AX1800 Setup
You need to collect the information and items listed below to complete the setup:
- Wavlink AX1800
- A host device
- Working internet connection
- Ethernet cable
- Computer/ laptop device
- Login details of host network
- Login credentials of wavlink AX1800 device (default)
- Power source
Wavlink AX1800 Setup Procedure
- The Wavlink AX1800 setup process starts by placing the device near your main router or modem. Before powering it on, connect the AX1800 to the host networking device using an Ethernet cable to ensure a stable connection. Once connected, switch on the power and wait until the LED indicator becomes stable.
- Next, use a computer or laptop to access the Wavlink AX1800 web interface.
- Connect your system to the AX1800’s default wireless network using the SSID and password printed on the device label. Instead of wireless connection you can also use ethernet cable for connection.
- Open any web browser such as Google Chrome or Internet Explorer.
- Go to the URL bar and then specify wifi.wavlink.com or the standard IP address to access the setup page.
- Log in using the default credentials when the web interface appears. Enter admin as both the username and password.
- After logging in, the Wavlink setup wizard will appear on your screen.
- Follow the on screen steps carefully to change your admin login details this will enhance your network security.
- Next, configure your wireless settings by creating a new SSID (network name) and a strong WiFi password.
- Also check for firmware updates within the setup interface to enhance performance and stability.
- Once all changes are made, click on Save to apply your new settings.
- The device may automatically reboot to complete the configuration.
- After restarting, reconnect your devices to the new Wavlink AX1800 network and enjoy a high-speed, reliable wireless connection across your home or office.
By following these simple steps, your Wavlink AX1800 setup will be complete, offering seamless coverage and improved internet performance for all your connected devices.
Communicate Our Experts
In case you face any difficulty in completing the wavlink AX1800 setup then our technical team is here to assist you. What exactly you need to do is connect our experts. To communicate with the US you can drop a message in the live chat section or directly call us on the below available number. Our representative will guide you and help in detecting the issue. They will offer the solution to resolve your concern as well.


