
Wavlink AC600 USB WiFi Adapter Setup Instructions
Have you just purchased a wavlink AC600 device? Don’t know how to use it? No worries this guide will help you step by step to add the device into your network and get a reliable wireless connection across your space. wavlink AC600 instructions specified further will help you achieve your networking goals. Whether you are a new user or an existing one this guide will help you. Let’s dive into the step by step configuration process and get connected to the Internet without wasting time.
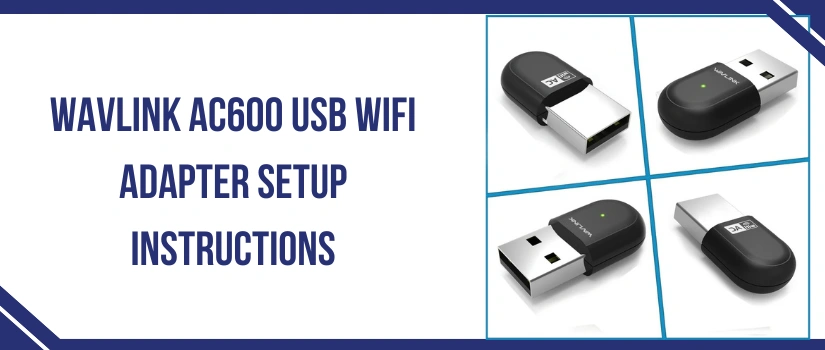
Unbox And Identify The Content
First of all you have to check whether you have the required things or not. By unboxing your wavlink AC600 USB WiFi adaptor you can check if the box contains everything or not. List of items box must contain are as below:
If the box contains every required item then follow this wavlink AC600 instructions to configure the adapter.
Plug The Adaptor Into Your Computer
Insert the AC600 adapter into a free USB port on your computer or laptop device whichever you desire to use. If using window 10 or 11 then the drivers might get installed automatically. In case you are using an older version like windows 7 or 8 then you have to install the drivers. If your computer doesn’t detect the device or can’t find the driver then you have to install it by following the next step.
Installation Of The Drivers
For many users, the driver installation is the most important part of the Wavlink AC600 instructions. If automatic installation fails, you’ll need to manually install the drivers. You have two main options:
Use the CD (If Available)
Download the Driver Online
Most new laptops and PCs don’t include CD drives anymore. In that case, download the drivers online
Connect To A Wireless Network
Once your computer recognise the adaptor you have to proceed with the following steps of wavlink AC600 instructions:
Confirm The Connection
To confirm you are successfully connected to the wavlink AC600 WiFi adapter you have to follow these steps
Conclusion
Above specified wavlink AC600 instructions are very simple to follow. By following these steps anyone can get the success in setting up the adapter and connecting it with the WiFi. With the use of this Wi-Fi adaptor you can enjoy seamless internet connectivity on your device without any trouble. This is an effective solution for improving wireless connectivity on the older devices. In case you get stuck even yet then our team is here to help. Just make a call to us and we will guide you.
