
Quick Fixes For The 192.168.10.1 Not Working Problem
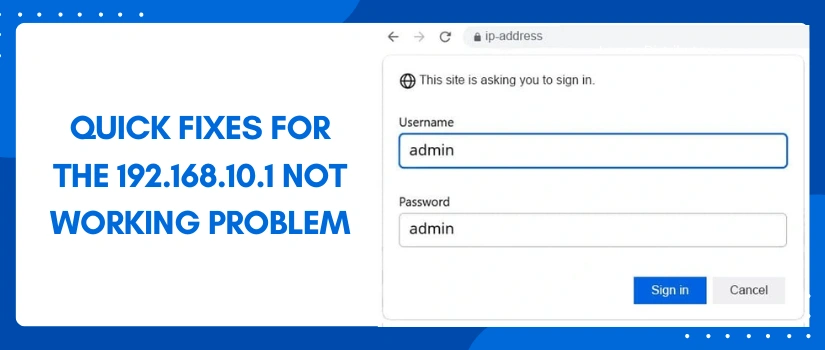
Do you own a Wavlink wifi range extender but aren’t able to make changes to its default settings or aren’t able to conduct the initial setup via 192.168.10.1? If yes, no worries. Because it is not an unusual problem. Therefore we have multiple solutions for it. So in this blog post we’ll be sharing the complete troubleshooting steps one after the other for the problem of 192.168.10.1 not working. There can be many reasons behind it. For eg: loose wires, inconsistent power supply, not connecting to the right Wavlink network, using incompatible browsers and many more of similar nature. So let us help you open the login portal successfully.
First Reboot Your Wavlink Unit
Sometimes the device requires a quick refresh. So for this you can perform the rebooting process. All you have to do is, stop the supply of electricity to the Wavlink device. Then detach its adapter from the socket. Wait for up to a minute. Finally, move it back into the socket and power on. Thereafter load the web address again into the browser’s URL bar. If it works well and good, if not try the next solution for 192.168.10.1 not working.
Recheck All Wires
Loose wiring connections can also create trouble. So if you are using an Ethernet wire for establishing a connection between your client device and the Wavlink extender, then first make sure the wire is working well. It shouldn’t have any cuts in between. Next connect the wire to the right working ports. Not only this also make sure the power cable is securely connected to the extender’s power port and then to the power socket. Additionally, the electrical supply should be proper.
Connect To Right Wavlink Network
If 192.168.10.1 not working problem persists then it could be because you might have connected your smart device to the incorrect network. The smart device must be connected to the Wavlink extender’s default SSID only. The accurate network reference is written on the Extender’s product label which you can find on the extender itself.
Use Compatible Browser
Yet another reason as to why the 192.168.10.1 not working issue is popping up could be because you might be using the incompatible browser. So first use the right browser. Here are the top five suggestions: internet explorer, chrome, safari, edge and firefox. Further, before loading 192.168.10.1 in the address field, you must clear up browser caches and cookies folder. Sometimes the IP address (192.168.10.1) goes inactive. In that situation you can use the other alternative. It is http://wifi.wavlink.com.
Use Up-to-date Device
Sometimes the problem is not with the browser or the web address but with the client device that you are using for the login process. So if the problem of 192.168.10.1 not working still goes on, then you must change the device. Use a device that is wifi enabled and doesn’t have any pending updates.
Reset The Device
Lastly, when everything is correct but still the problem doesn’t solve then the only option is factory resetting. This process will erase off all the problems. Basically your extender will revert back to the same condition as you bought it for the very first time. For resetting your device, the signal repeater must be on. Thereafter push the reset key. Hold onto it till the indicators start to fade away or begin flickering. After releasing the extender unit is now ready for the fresh setup.
