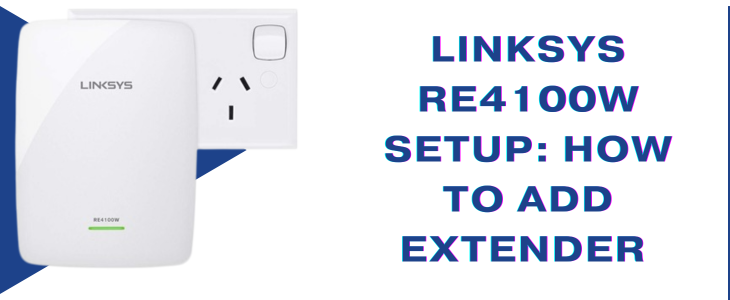
How to Add Linksys Wifi RE4100w Extender
The Linksys RE4100w Setup process can be the perfect solution, If your WiFi signals are weak in some areas of your home or office. The RE4100w is a binary band WiFi range extender that improves your network content without compromising on speed or stability. Whether you are gaming, streaming, or simply browsing, this compact device ensures you stay connected in all corners of your space. Let’s walk you through each step to successfully add the extender to your being network.
Place & Power the Extender
Start by opting a central position between your router and the dead zone. Ensure that it is placed within the effective range of your existing WiFi network for optimal performance. Avoid placing the device near essence objects, broilers, or thick walls that can block the signal. Plug the Linksys RE4100w into an electrical outlet and wait until the LED indicator turns solid, indicating that the device is powered on and ready for setup. This shows the extender is powered on and ready for setup.
Connect to RE4100w’s Network
After powering on the extender, use your computer, smartphone, or tablet to connect to the RE4100w’s default WiFi network. The default SSID will generally show up in your available WiFi networks under the name “Linksys Extender Setup” or a variation of that. Look for a network name (SSID) like “Linksys Extender Setup” or commodity analogous in your available WiFi list. Tap to connect. No word is needed at this stage.
Launch the Browser
Use browsers similar to Chrome, Safari, or Firefox. Either use web address http://extender.linksys.com or IP address 192.168.1.1. Thereafter choose the enter button. This will deflect you to the Linksys RE4100w Setup gate where you can begin configuring your device. However, ensure you’re connected to the extender’s network, If the setup runner doesn’t load.
Access Setup Page
Once the setup runner appears, click on “Start Setup”. Choose whether to use the homemade system or WPS system. For homemade setup, select your WiFi network from the list displayed. Enter the WiFi word when urged to connect the extender to your router. You’ll also have the option to brand the extended network or keep the same SSID as your main router.
Configure Settings
At this point, you can configure fresh preferences similar to security type and admin word for unborn access to the setup runner. It’s a good idea to write down any changes you make for later reference. Confirm that your extender is successfully linked to the primary network. The LED light on the extender will also change to indicate a solid connection.
Finalize Setup
Click on the “Finish” or “Save” button to apply all your settings. Once it’s done, you can open the extender and budge it at your asked position, immaculately half between your router and the area with poor signal. Reconnect the device to the extended network to enjoy flawless content.
Conclusion
Completing the Linksys RE4100w Setup ensures that your home or office has strong WiFi content in preliminarily weak zones. Repeat the Linksys RE4100w Setup process any time you change routers or network names. With just a few minutes of setup, you’ll enjoy briskly, further dependable WiFi throughout your space.
