
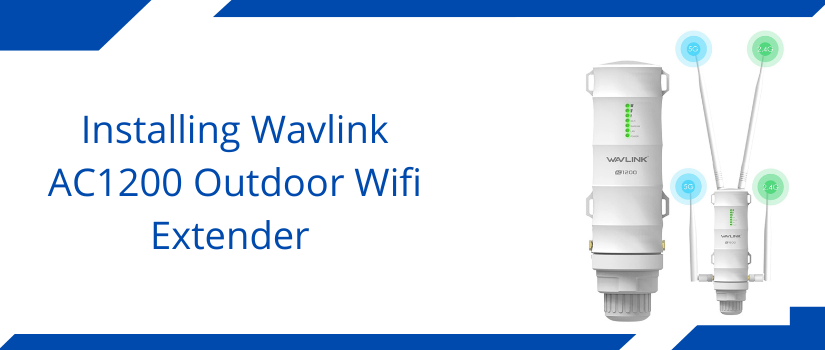
Installing Wavlink AC1200 Outdoor Wifi Extender
The need for wifi connectivity at every single step is increasing day by day, all because of technical advancements that the world is facing. Thus, you don’t just require seamless wifi connectivity indoors but also in your outdoor areas like garden, garage, pool side and even on your terrace and balcony. When we talk about seamless connectivity, Wavlink extenders cross the mind immediately. So if you also got your hands on the Wavlink AC1200 outdoor wifi extender, then you must surely be looking for an easy setup guide. Because without proper installation you won’t be able to enjoy its benefits.
The outdoor extenders, particularly the Wavlink AC1200 outdoor range, are feature rich. They operate on dual frequency bands. Further, it eliminates the dead zones very effectively. Thereafter, the weatherproof case doesn’t affect its working even during heavy rainfall, peak humidity and even when there are thunderstorms. The support for POE is what makes the AC1200 range worth spending every penny. With high power amplifiers and antennas, you can expect dependable yet wider coverage. Lastly, the smart lights make the Wavlink AC1200 outdoor wifi extender setup much easier.
Setup Requirements
For Wavlink AC1200 outdoor wifi extender setup first you should unbox all the package contents. So you get following items:
Now apart from all these components, for the setup you just require a very few additional things. These are:
Installation Guidance
The setup is quite simple. First start with the basics which is connecting the hardware together. So fetch the ethernet wire. Link it to the POE IN port of the AC1200 signal repeater. Thereafter, slip in its other end into the POE converter. Once you build this connection, activate the signal repeater with the help of the supplied power adapter. Do not move on to the next Wavlink AC1200 outdoor wifi extender setup step until the power indicator of AC1200 lights up and stabilizes.
Moving further, take up your smart device. It shouldn’t have pending updates, because this will allow you to conduct the setup more effortlessly. Now activate the wifi on your gadget. Connect to the network “Wavlink-XXXX”. If it prompts you to enter the passkey, then type in the one which is written on the AC1200’s product label. To simplify this whole linking method, we have an alternative. The alternative is to simply use an Ethernet wire for linking the smart gadget and the AC1200 together. This connection method is much quicker, stable and dependable as well.
Now on the networked gadget, open up the internet browser. Take the icon to the URL field. In it type any of these two addresses: http://192.168.10.1 / http://waplogin.link. Thereafter press Enter. As the window opens up, fill the passkey “admin”. Make a choice with language. Tap on Login. Finally, you now get to choose between two setup modes. Do the selection. Fill in the exact identity of your router. Then the passkey. Finally, hit on Connect. With this you’ll successfully synchronise your AC1200 and the router together.
Once the Wavlink AC1200 outdoor wifi extender setup completes, you can mount the device properly on the outside pole or wall for wider coverage.
