
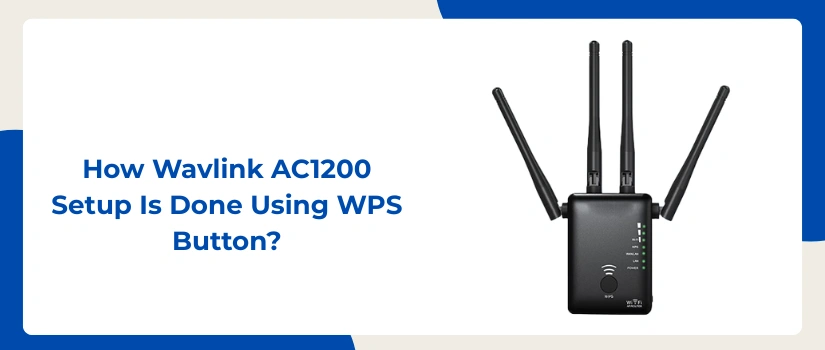
How Wavlink AC1200 Setup Is Done Using WPS Button?
Wavlink extenders are feature rich and can easily cover a wider area of your abode, thus often termed as value for money. One such masterpiece creation is the Wavlink AC1200 extender. This one operates on dual frequency bands and can easily eradicate all the connectivity issues from dead zones, slow speeds to intermittent internet connection. But for unlocking the extender you must know about the Wavlink AC1200 setup process. This is what this blog post is all about. We’ll be listing the easiest setup method which can be done in under 5 minutes. So without further deferment let’s directly jump on to the point.
Setup Guidance
Before you initiate the Wavlink AC1200 setup process make sure your router also supports the WPS button.
Note:
Many users take more than 120 seconds to press the WPS button on the router. This is where the Wavlink AC1200 setup fails. So make sure after you activate the WPS function of the router, you need to immediately activate the WPS function of the extender.
Final Step: Accurate Extender Relocation
Once you successfully complete the above written Wavlink AC1200 setup steps, you can now reposition the extender for better coverage and signal transmission. So plot the extender halfway from the host device which is the router and halfway from the wifi dead zone. Again keep in mind that if you keep the extender too far from the router, then the communication between the devices will get affected. The place where you deploy the extender must get not less than 50 percent signals from the router.
In addition to it, for best networking experience keep the extender away from metal and electronic gadgets. The common culprits that can affect Wavlink AC1200 setup are: microwave, cordless phones, bluetooth devices, baby monitors, fish tanks, aluminium doors, vigilance cameras, refrigerator as well as ceiling fans.
Further, many users try to conceal the extender by placing it inside a box, behind curtains or under furniture. This is the biggest mistake. Always keep the extender in an open space that is well ventilated and has minimum interferences. Try to place the extender on some top shelf or simply keep it on the table top for effective signal transmission.
Apart from placement, pending firmware updates can also affect the Wavlink AC1200 setup working. So always try to keep the firmware version to the latest. For this you can turn on automatic updates option.
Still have queries regarding the setup process? If yes, then do not hesitate to connect with our experts.
