
How To Use wifi.wavlink.com To Set Up A Wavlink Router?
Setting up a wavlink router device is a very simple process and offers a stable network connection. If you are new to networking and looking for a device to get a strong, stable and reliable network then go for wavlink router devices. Wavlink router setup using wifi.wavlink.com is a smooth process that can be followed by even a new user. Step you have to proceed with while configuring the range extender is specified in the further section of this page. In addition to this, you will find several other significant details.
Wavlink Router Setup Process
Using the web you can easily proceed with the configuration of the wavlink router. Steps involved in the process are mentioned here which begins with unboxing & powering the device and ends with finalise setup. Check below:
Unbox and Power Up the Router
Begin by unboxing your Wavlink router. Place the device near your modem to ensure a stable connection. Connect the power adapter to the router and plug it into an outlet. Stay for the router’s index lights to stabilise, which confirms that the device is powered on and ready for configuration.
Connect to the Router’s Network
On your computer, smartphone, or tablet, open the WiFi settings and search for the standard SSID of your Wavlink router. This information can be set up on the product marker at the reverse or bottom of the device. Select the SSID and connect using the standard password handed.
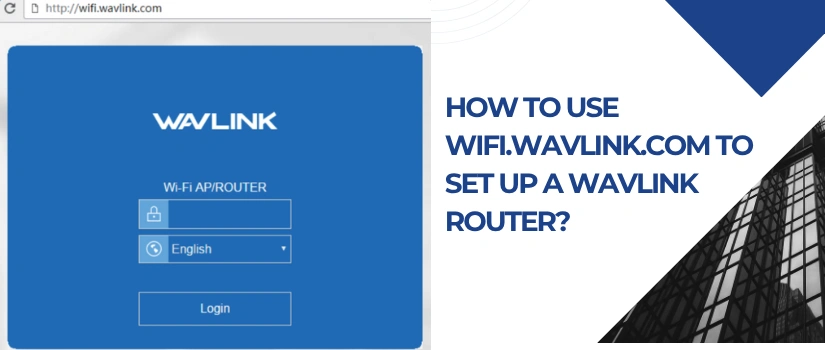
Access the Setup Page
Start the web cybersurfer on your connected device and specify wifi.wavlink.com web address into the URL bar. Press Enter and Wavlink router login page will appear on screen. However, try using the router’s standard IP address, generally 192.168.10.1. If the runner doesn’t load, ensure that you’re connected to the Wavlink network.
Log in to the Router
On the login screen, enter the standard username and password, generally “admin” for both fields unless specified elsewhere in the primer. After logging in, the setup wizard will guide you through the configuration.
Configure Internet Settings
Choose your internet connection type. Enter any necessary details, similar as the PPPoE username and password handed by your internet service provider.
Set Up Wireless Network
You will now be urged to make a custom network name and password for your WiFi network. Choose a strong combination to create the password and save the settings.
Finalise Setup
Let the router reboot. Reconnect your device to the new SSID and password as it started. Return to wifi.wavlink.com to confirm the settings and check the connection status. You can also explore advanced settings similar as maternal controls, guest networks, or firmware updates if needed.
Connect Us
Wavlink router setup via wifi.wavlink.com is easy as mentioned above. Yet some of the users face difficulty while setting up. If you are one of those users then don’t worry our technical team is here, call us for help.
