
How To Setup Wavlink Extender Using 192.168.10.1?
The Wavlink extender setup process is quite simple. After the successful installation, all the dead zones and connectivity problems will no longer bother you. For the 192.168.10.1 extender setup, you just require the right guidance and access to a few basic things. These are: a router, an active internet connection, a Wi-Fi-enabled smart device, and access to the vacant and well-working switchboard. Lastly, ensure you have all the package contents by your side and the current network information. Now, as you gather all this equipment, you can follow the setup guidance that is written below.
✓ Plot The Extender Rightly
If you want the 192.168.10.1 extender setup outcome to be in your favor, then thoughtful placement of the extender is non-negotiable. During initial setup, you can keep it in proximity to the router. But as the setup completes, keep it in the area that you consider the center point of the router and the area of concern. Next up, if you don’t want any interruptions with the 192.168.10.1 extender setup process, then keep metal and electronic items away from the extender’s hardware. A few common culprits are microwave, refrigerator, cordless phones, Bluetooth devices, fish tanks, surveillance cameras, and also aluminium doors.
Additionally, do not place the extender in a box or on the floor. Try placing it on an elevated surface that offers proper ventilation.
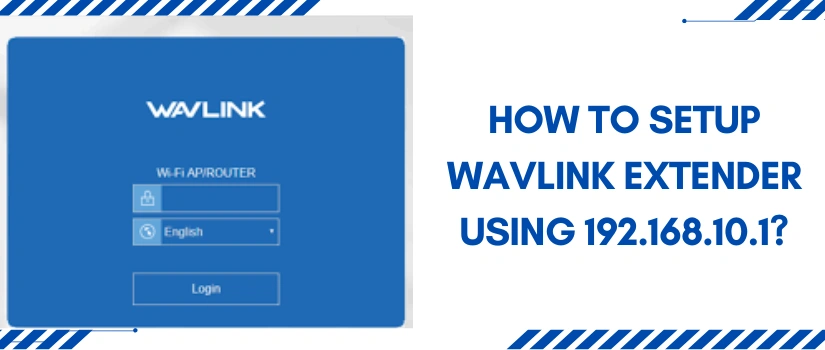
✓ 192.168.10.1 Extender Setup Steps
Now, let’s begin with the quick setup steps:
Note: If you come across problems with the login step, then ensure your chosen browser is running on its recent version. Additionally, clean up its caches and cookies folder. Whereas if you face a problem with the wireless connectivity, then link your chosen device to the Wavlink via ethernet wire. Moreover, a quick reboot of the devices can also solve 192.168.10.1 extender setup issues.
