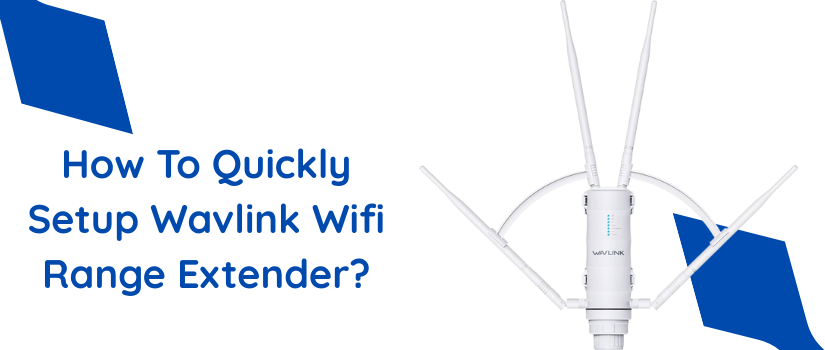
Wavlink wifi range extenders tick all the right boxes. They are affordable, reliable, rightly offer what they claim and the best part is that they are easy to set up. So in this particular post we’ll be sharing complete details regarding Wavlink 1200 setup. The AC1200 wifi range extender setup can be done using a web browser as well as through the Wifi protected setup button. Both setup methods are easy and won’t require any expert assistance, just the right guidance will let you enjoy uninterrupted connectivity all around the abode or office space. So with no stalling lets get to the point.
Hassle-Free Setup Via WPS Button
Who doesn’t want to get online at the earliest? If you also wish to wrap up the Wavlink 1200 setup within five minutes then use the Wifi protected setup method. The steps for it are as follows:
- Bring the extender as near as possible to the router and then power it on.
- As you activate it, let its smart indicator show a steady green light.
- Now press your router’s WPS button and after that check the status light. It must be flickering.
- Within 120 seconds now press the extender’s WPS button as well. The WPS indicator of 1200 extender will also start fluttering.
- Now allow the devices to complete the synchronisation. The syncing completes when the status indicator turns steady green.
- Does your router support a 5Ghz network? If yes, then you would definitely want to extend its signals as well. So for that you just have to repeat the above written steps no 3 and 4 once again. As you do so your Wavlink 1200 setup completes. Now the only task left is to reposition the extender.
- Repower the extender in an area which you consider the center of the router and the wifi dead spot. Just make sure this spot is able to receive decent signals from the router. Because effective communication of the extender and the router is non-negotiable for successful setup outcome. Additionally, keep all the metal and electronic gadgets away from the extender as they can mess up with the proper signal transmission.
- Once the extender’s deployment is done correctly, use the same password as your router and get connected to your new Wavlink network.
Comprehensive Setup Using Web Browser
The other alternative through which you can conduct the Wavlink 1200 setup is using a web browser. The steps for the same are listed below:
- Deploy the extender closely to the router. Power it on and let it get ready for the configuration. After a couple of seconds you’ll see a green bright light, this means you can head to the next step.
- So now take your smart device and an Ethernet wire. Plug Ethernet wire into the LAN port of the extender. Slip the other side of the ethernet wire into the Ethernet port of the smart device.
- You can also pair up the extender and the smart device via wifi. The exact credentials for the same are found on the extender’s product label which is pasted at the back side.
- Now for Wavlink 1200 setup, you have to launch an internet browser. Open any web browser, just to avoid unnecessary interference make sure the browser is updated and its caches and history folder is also empty.
- Thereafter go to the URL blank. Into this blank fill up login address. It is http://192.168.10.1. Now click enter. This opens up the login page. Fill in the login password. It is “admin”. Use lower letter case only and then select the language. After that, hit Login.
- Finally, choose the repeater mode. Select router’s SSID, input its password accurately, choose the security type, customize extender’s network name and password. At last tap on Apply. This completes the Wavlink 1200 setup.
For other queries and concerns, reach out directly to our customer support team.