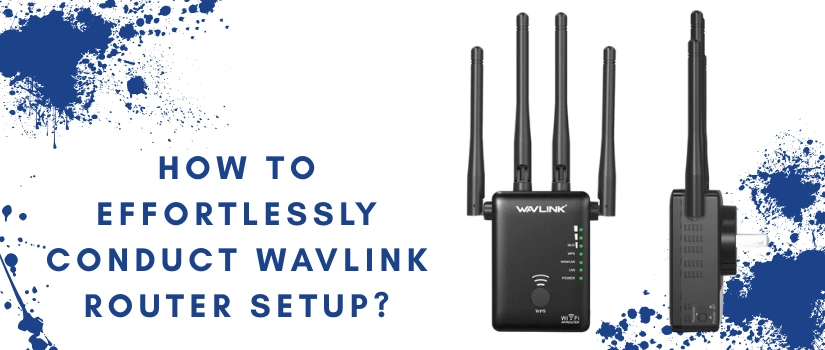
How To Conduct Wavlink Router Setup Effortlessly?
Wavlink routers are not only feature-rich, but they actually offer what they claim. This is the reason why every other home and office space has one of them. So if you also got your hands on the Wavlink router, then for installation, you would be looking for a simple and straightforward guide. This guide is going to serve the same purpose. The guide will cover the process for accessing wifi.wavlink.com setup page. The process is simple and can even be followed by individuals who do not understand the technical aspects that well. So without dragging it further, let’s get to the main point.
Setup Requirements
For the wifi.wavlink.com setup, you must have access to all these components. These are:
Setup Instructions
Firstly, start with the basics. For carrying out a successful wifi wavlink com setup, you must deploy the router correctly and strategically. Place it in the center of your abode. Keep it far from metal and electronic items. Do not hide it in a box or behind any object. Just place it in the center, on a high elevation with proper ventilation. After placement, follow the below written step by step guidance.
To activate the router for wifi wavlink com setup, follow these steps: Take the Ethernet wire. Plug it into the modem and then into the Wavlink router. Thereafter, take the router’s power adapter. Plug it into the router’s power port. Then slide the adapter into the electrical outlet. Now switch on the modem. Let it boot up. Up next, switch on the router and let it also boot up. After you see a stable light on the router’s power indicator, move to the next step.
Pair With Host Device
Now take the smart device as well as an Ethernet wire for building a solid connection between the router and the smart device. You can also create a wireless connection by using the network name and SSID that is written on the Wavlink router’s base panel.
Login
After the pairing of devices is done, launch the internet browser. Head to the URL field. Type wifi.wavlink.com into it and hit enter. This will open up the login page, but if not, then use the alternative it is 192.168.10.1. Finally, fill in the login password. By default, it is “admin”. Then tap on Login. This will take you to the WiFi.Wavlink.com setup page.
Follow Prompts
Finally, choose the Internet connection type. Thereafter, assign a network name and create a unique and complex password to crack. Also, pick the security type and lastly, tap on the Apply option. With this, the setup process finishes. Now all you have to do is pair the device to the new network that you just created and then test the connection.
For queries or help, feel free to reach out to our customer support team. We offer multiple contacting options, from phone support, e-mail support, to live chat support.
