
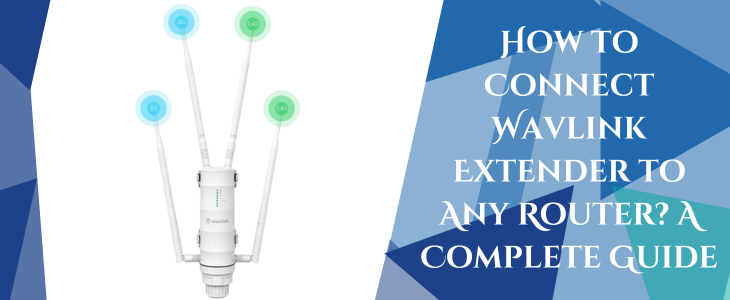
How to Connect Wavlink Extender to Any Router? A Complete Guide
Went ahead and chose a Wavlink wifi range extender and now want to know how to connect it to your existing router? If the answer is yes, you need not worry as it is a very simple and straightforward process. Neither it will take much time nor do you need any expert assistance. All you have to do is choose between three different methods. One is the WPS method that cancels out all the wiring hassle and lets you connect the Wavlink Extender to the router within 5 minutes. Next method to connect both the networking gadgets is using the web browser. It is a more traditional and reliable method that is preferred by most users. Lastly, one can connect the extender to the router with the help of Wavlink app as well. So let’s not take further time and get done with it quickly.
WPS Connection
For connecting your Wavlink extender to the router using WPS method you need to follow these few simple steps:
Connection Using Internet Browser
There are chances that your router might not support WPS connectivity. Or you might want a more secure connection. Then in that case using the internet browser method is preferable for you. Before you check out the connection steps, first collect the necessary components, as it will allow you to complete the connection smoothly and in less time. Therefore what you need is:
Connectivity Guidance
To connect your Wavlink extender to the router using an internet browser you need to follow these steps one by one.
✓ Place the Wavlink extender near your host router. Using the power adapter, activate it. Ensure its proper booting before moving towards the next step. Additionally make sure the router is also active.
✓ Now fetch your smart gadget. Connect it to the Wavlink extender. You have two alternatives for the same. For wireless connection use the default network details that are written on the product label of the extender which is pasted on its back panel. Or for direct connection just plug in one end of the Ethernet cable into the repeater’s port and other into the smart device’s port. This connection is more reliable and stable as compared to wireless connection.
✓ Moving forward, on the same device open an internet browser. Be sure the browser is running on its latest version. For smooth connectivity also clear up cache and cookies folder. Now jump to the address field of the browser. In it enter the default IP address, that is 192.168.10.1 and click enter.
✓ Now using the login details as written in the user manual login into the web management page. The default login details won’t work if you had customized them earlier. In that case use the updated login details.
✓ At last, follow the on-screen prompts that will lead you to building a successful connection between the router and the Wavlink extender. You’ll be asked to first choose the network name whose reach you want to extend. Next you’ll have to give in the password of the same network. Once done, do not forget to reposition the extender strategically for seamless and wider coverage.
Using Wavlink Application For Connectivity
Want an alternative to both the above connectivity methods? If yes then no issues as Wavlink application is your savior.
To build a connection between the router and your Wavlink extender first fetch a smart gadget. On it open the Wavlink application. Make sure it is up-to-date. In case you do not have the application, then get it free from any of the two platforms that is, Google Play store and App store depending upon your device.
Now activate the extender and let it boot up properly. Also recheck if the router is working properly or not. Moving forward, launch the app on your device. Make sure your device has a connection to the Wavlink’s network. The details to connect the same are given on extender’s product label. Now what you need to do is simply follow the app instructions one by one and get your router in touch with the Wavlink extender.
All the three connection methods are simple and easy. You can pick one that you feel is more convenient to perform. For any query, assistance or issue feel free to connect to the experts.

