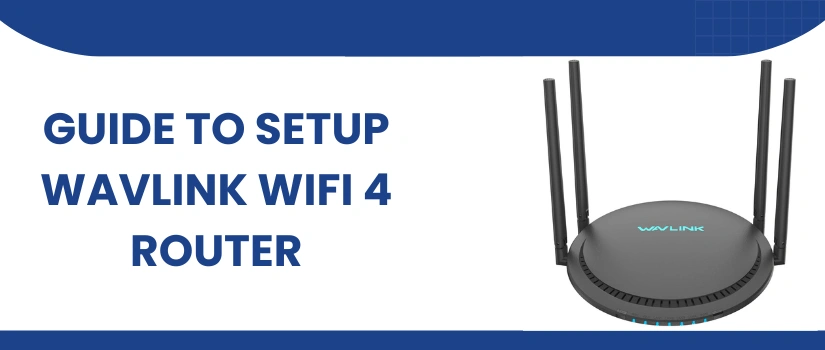
Wavlink is a well known networking brand and offers a vast variety of routers. No matter which one you decide to pick, each one is worth spending every single penny. The routers from Wavlink offer dependable connectivity, provide seamless coverage, are feature rich and the best part is the setup is also user friendly. So if you got your hands on the Wavlink wifi 4 router series then you must be looking for a straightforward yet reliable Wavlink wifi 4 router setup guide. If this is the scenario then you have found the right blog-post. In this post we’ll be sharing step by step setup guidance, so that you can enjoy hassle-free wifi connectivity in every single corner of your abode. The setup process is simple, thus it won’t take up much time.
Start With Placement
Start the Wavlink wifi 4 router setup process by finding the right placement place for the router. So ideally if you want full coverage and no such issues of slow speed and intermittent internet connection then follow these placement strategies:
- Place the wifi 4 router in an open area. Possibly at the center point of your place. This place should offer proper ventilation.
- Further, keep the wifi 4 router away from metal and electronic items. To name a few, avoid placement near microwaves, cordless phones, CCTV cameras, bluetooth devices, baby monitors, on refrigerators, nearby aluminum doors and other gadgets of similar nature.
- Next up, never place the networking device in a box, in a corner or on the floor itself. Rather the Wavlink wifi 4 router setup will work amazingly when you place it on some higher elevations like on the table, on a shelf and the best one is direct mounting on the wall. This allows for better signal transmission and thus the seamless coverage follows.
Setup Steps
Now as you finalize the placement place for the Wavlink wifi 4 router setup, you can follow these setup steps one after the other.
- First reboot your modem. Now with the help of an Ethernet wire build a stable connection between the the wifi 4 router and the modem.
- Next up, activate the wifi 4 router using its supplied power cable. Also make sure the modem is on and has its link to the internet source.
- Now in this Wavlink wifi 4 router setup step you need a smart device. Activate its wifi. From all the available networks choose the network identity that resonates with your wifi 4 router model. The exact default identity is written on the router’s base panel. So you can recheck it from there.
- Thereafter, as the connection establishes, open an internet browser. Move to its URL column. Avoiding any typing mistake, type in http://192.168.10.1. Click Enter. You can also use http://wavlogin.link.
- Finally, select your region, fill up the passkey. If not altered then it is “admin”. Tap on Login.
Lastly, choose the WAN connection type and fill up the other basic information to complete the Wavlink wifi 4 router setup successfully.