
AX1800 WiFi 6 Wireless Outdoor Setup: Complete Guide
AX1800 WiFi 6 Wireless Outdoor Setup ensures seamless connectivity across your space. This networking device is ideal for gardens, farms, cafes, or outdoor workstations. You can use this networking device as an extender to uplift your existing network. Furthermore it can also be used as an access point (AP) to create a new outdoor network that offers faster speeds, stable connections, and improved security. Follow this simplified setup guide to install your AX1800 WiFi 6 Wireless device as extender or AP effortlessly.
Extender Setup Process
Select Optimal Placement
Place your extender within the WiFi range of your main router. Put it closer to the area needing improved coverage. The best place to put extender is halfway between the router and the outdoor zone where you want WiFi access.
Power On the Extender
Connect your extender to a power outlet using the provided adapter. Wait until the power LED indicator turns on and get solid in color.
Connect to the Extender’s Network
Using your smartphone or laptop, open WiFi settings. Connect to the default SSID of the AX1800 WiFi 6 Wireless Outdoor Extender. The SSID name and default password are usually mentioned on a sticker at the back or bottom of the device.
Access the Web Portal
Launch a web browser. Enter the AP’s default IP address. Log in using the credentials provided in the manual.
Run the Setup Wizard
Follow the onscreen setup wizard instructions to configure your AX1800 WiFi 6 wireless outdoor extender device.
Finalise and Test Connection
After setup, relocate the extender to its final outdoor position. This relocation should be to a place so the device remains within range of your router. Mount it securely using the included kit. Reconnect your phone or laptop to the new extended network and perform a speed test to ensure stable coverage.
Outdoor AP Setup
Choose the Right Installation Spot
Select an outdoor location with access to a power source or within the range of your Ethernet wiring if using PoE (Power over Ethernet). Ensure the area is safe from direct exposure to rain unless your AP is IP-rated for waterproofing. Installing at a higher position without obstructions maximises coverage radius.
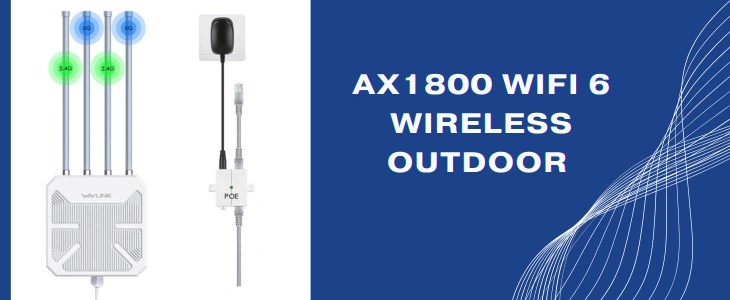
Power Connection and Cabling
Connect one end of the Ethernet cable to the LAN port of your router. Put the other end of the same into the PoE injector’s data port. Use another Ethernet cable to link the injector’s PoE port to the AP device port. Next, plug the PoE injector into the power outlet.
Connect to the Access Point
Open your laptop or phone’s WiFi settings and connect to the default SSID of the AX1800 WiFi 6 Wireless Outdoor AP. The SSID name of the AP and default password can be found on the device label.
Login to Web Interface
Launch a web browser. Enter the AP’s default IP address. Log in using the credentials provided in the manual.
Configure Wireless Settings
Inside the web interface, go to the Wireless Settings section to begin the configuration of your outdoor AP device.
Then move ahead in the AX1800 WiFi 6 Wireless Outdoor setup process
Adjust Channel and Band Settings
Set the WiFi channel to auto or choose a channel with minimal interference. Then you have to configure both 2.4GHz and 5GHz bands for dual usage. It provides better speeds and flexibility for connecting devices.
Apply and Reboot
Save your settings by selecting the save option. Thereafter Reboot the AP device if required. Once the device restarts, it will broadcast the new SSID you created.
Test Network
Using the AX1800 WiFi 6 Wireless Outdoor AP mounting kit, hang up the device outdoors. Ensure the AP is tightly secured. Reconnect your phone or laptop to the new extended network and perform a speed test to ensure stable coverage.
