Wavlink routers are not just feature rich affordable, but are also the first choice for users all around. So if you also bought a Wavlink router for your home/office space, then the right configuration is crucial for enjoying each of its benefits. Now, if you are an individual with no tech expertise, you can also do the setup on your own without facing a single problem. In this blog post, we’ll be sharing the complete 192.168.10.1 Wavlink setup instructions. The instructions will be simple, straightforward, yet easy to understand. So by the end of this post, we assure your router will provide you with seamless connectivity. Now let’s not make further delay and begin with the main steps.
Basic 192.168.10.1 Wavlink Setup Instructions
Now, before you start with the installation process, there are a few pointers that you must consider for a hassle-free setup.
- First, you should pre-collect all the setup needs. So for the same, you require: a smart device, a vacant power socket, a modem with internet connection and lastly all the components that came with the router.
- Moving further, if you have already tried the 192.168.10.1 Wavlink setup instructions from the user manual, but the outcome didn’t turn out to be favourable. Then, before conducting a fresh setup, you should reset the Wavlink unit. Because this will fade out all the changes that you might have made to the default settings.
- Remember to enjoy all the benefits of the Wavlink router, you must keep it in an area which is open, offers ventilation and is not filled with unnecessary obstacles like metal objects, electrical items, heavy furniture or multiple thick walls.
So with all these basic 192.168.10.1 Wavlink setup instructions, you won’t face any difficulty with the installation.
Installation Process
The setup is simple. It won’t take more than 10 minutes, even if you do not possess any tech knowledge. But in case you are not sure about your ability to follow the 192.168.10.1 Wavlink setup instructions, then do not hesitate to directly take help from our expert professionals. Users who are sure that they’ll be able to do it themselves can simply follow the guidance.
Easy To Follow Guidance
- First, take an Ethernet cable that works well and doesn’t have any cuts or bruises. Link this wire to an upstream device (modem). Slip its other side into the Wavlink router (WAN port).
- Moving further, fetch the supplied power adapter. With its help, power on the Wavlink router. Also, make sure the modem is getting the necessary electrical supply.
- Now these are very important 192.168.10.1 Wavlink setup instructions, so do not skip any of them. First, let the router’s power indicator light up properly, which means the router has booted up and is ready for further steps.
- So it’s time to grab your smart device. Activate its wifi. From all available SSIDs, connect to one that resonates with the Wavlink router. The exact information for the same is written on the label that you’ll find on the Wavlink router itself.
- After connecting the gadgets, open the internet browser. It should be compatible. We suggest you pick between Internet Explorer, Chrome, Firefox, Safari, and Edge.
- Thereafter, in the browser’s address column, load http://192.168.10.1. Click Enter.
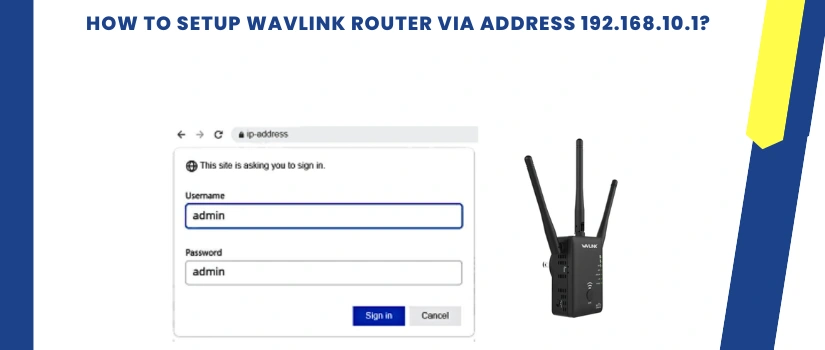
- By default, the passkey is “admin”. So fill it up and then select the language. Following it hit the login.
- Finally, you now have an entry to the setup page. Now the interface will itself give you the remaining 192.168.10.1 Wavlink setup instructions. So just follow them and finish the setup.