Linksys Velop AX4200 Setup
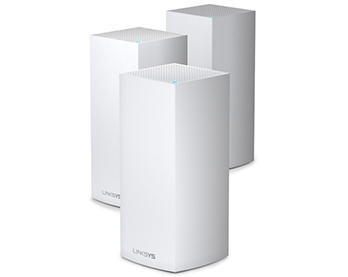
Are you looking for an easy and quick setup guide for your Linksys Velop AX4200? If yes, then congratulations you have finally landed on the perfect destination. In today’s guide we will be listing the complete steps for Linksys Velop AX4200 Setup. The post will also cover troubleshooting guidance and some other bonus points as well. So, without further ado let’s begin.
Linksys Velop AX4200 Setup Process
Setting up Linksys Velop AX4200 is very easy and quick. It is because of the Linksys App that the setup process can be done within a few minutes.
Unbox And Collect
Firstly, start the process by unboxing the Linksys Velop AX4200 box. Collect all the parts. You will get:

Note: Make sure you receive each of the above mentioned components. If any part is missing or is damaged then immediately contact Linksys Customer Service team.
Node Placement
Proper placement of the parent node is very important. Here are some tips for perfect placement:
Initial Node Setup
For setting up the first node, you have to connect it to the modem. Take your Ethernet cable and connect one end of it to the modem and other end to the parent node. Secondly, use a power adapter for connecting the node to the electrical outlet. Once the entire setup is done, switch it on. Wait for a few seconds until the LED light on the Velop node turns solid purple.
Download Linksys App
Now, it’s time to make use of the app for further setup. The Linksys app is available for both iOs users as well as Android users. The iOS users can download and install the Linksys app from the App store. The android users can download it from the Google Play Store.

Linksys Account Creation
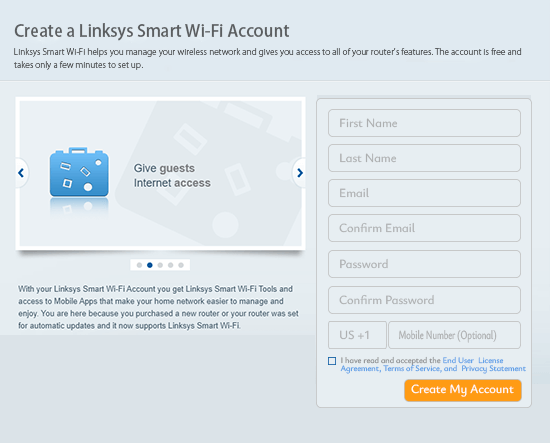
For the further Linksys Velop AX4200 Setup you will need a Linksys account. Open your downloaded app and start following all the on-screen prompts to create an account. If you are already a Linksys app user then simply login.
Network Setup
As you successfully login into the Linksys app, the app will start giving you directions for completing the setup process. Make sure you do not skip any step because every step is important for complete and effective setup. Create a unique username and password for your network. It will not only help in easy identification but will also secure your network from threats.
Add Additional Nodes
For adding additional nodes, start placing them in your home. Do not place them too close to each other nor too away. Place these nodes at an equal distance from each other. The additional nodes should be able to communicate with each other easily. Power them on with the help of each power adapter. The app will itself start syncing them together as you switch them on.
Optimize The Network
Before finalizing the setup, you can make changes to your network settings. You can turn on parental control features. It will help you in monitoring the activities of your child. You can create a different guest network for your visitors. Enable WPA encryption for securing the network from any threats and much more.
Final Checks
As you complete the setup, make sure all the nodes are working properly. It’s advised to take a network test. Move around your home and see if the velop is working properly or not. There should be no dead zone. Wherever you go in your home, your device should have full signals.
Troubleshooting And Support
If you cautiously follow all the steps you will not face any issue. But sometimes technology loves to throw tantrums. In that case you can either reboot the entire setup or restart the nodes. For rebooting unplug all the nodes, wait for a few seconds or a minute and then plug them back. Most probably the issue will be resolved if any. Further, If this doesn’t solve the issue then restart the node. This will erase all the settings and you can now reset the nodes. Lastly, if resetting also doesn’t solve the issue then feel free to contact Linksys Customer Support team for help.
